|
Macbooks or iMacs hardly require reinstallation of their Mac OS, but when they do then it’s a fairly difficult process especially if your secondary computer is Windows. Reinstalling Mac OS is a time-consuming process and requires a lot of patience that’s why recommend doing this process in your free time or weekends.
To get started with you require a USB drive with at least 8GB storage (16GB recommended). Then you need a working Mac OS ISO or DMG Installation Image. You can download it from the Apps Store or you can find Mac OS Image at ISORIVER.
Gmail vs mac mail app. Sep 02, 2019 In either situation, Gmail works seamlessly with mail apps like Outlook/Outlook 365 and Thunderbird (free). Apple Mail is more of an individual platform, meaning that each user would have to subscribe in order to be able to use this option (a requirement that is not business-friendly).
Sep 23, 2019 One high quality USB flash drive with 16GB of storage. A copy of Apple’s macOS (DMG file). Now that you have all the necessary ingredients, you’re ready to make a Mac OS X bootable USB using the DMG file of the operating system with the steps below. How to create Mac OS X bootable USB installation media.
Make A Mac Os Usb Drive On Mac Terminal
There are 2 Methods to Create a Bootable USB drive of Mac OS on your Windows PC.
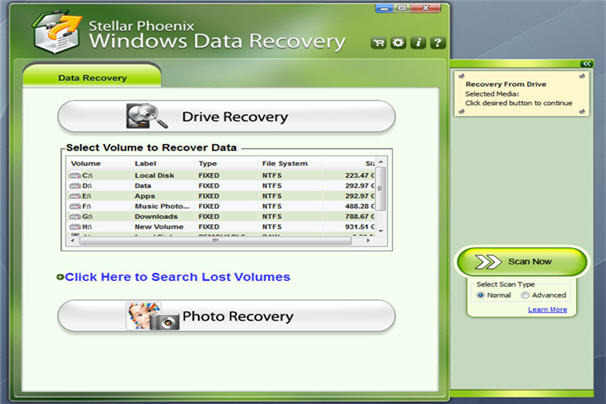
May 06, 2020 This free data recovery software can recover data from Mac notebooks, desktops, hard drives, USB drives, SD cards, memory cards, digital cameras, etc. It works on internal HFS+ drives, and on FAT/FAT32 file systems used in USB flash drives and external hard drives connected to. Mar 04, 2020 With the best free data recovery software for external hard drive and process, you can easily get the data back. This article will point you in the right direction in regards to the top free tools to recover data from an external hard drive. Top 10 Free Data Recovery Software for External Hard Drive.
 Method 1: Using TransMac
This can take fairly long, depending on the speed of your external drive and its connection to your Mac, so it’s best to have a fast hard drive with Thunderbolt, USB-C, or USB 3.0 connections. And that’s it! When Disk Utility is done, you can shut down your Mac and hold down Option when booting it back up. Use your USB drive right-click on it and select format disk format this will format the USB drive so that it can be used to store the Mac OS operating system. One thing you need took care of that the USB drive needs in GPT partition in order to work on a Mac computer otherwise it won’t boot. Mar 12, 2020 Connect the USB flash drive or other volume that you're using for the bootable installer. Make sure that it has at least 12GB of available storage and is formatted as Mac OS Extended. Open Terminal, which is in the Utilities folder of your Applications folder. Type or paste one of the following commands in Terminal. Dec 05, 2019 There are 2 Methods to Create a Bootable USB drive of Mac OS on your Windows PC. Method 1: Using TransMac. Download TransMac’s latest version for Windows from this link. Connect your USB drive; Right Click on your USB drive option in TransMac and select Format Disk for Mac; After that, right-click the USB Drive and select Restore with Disk Image. Mar 15, 2018 If you need to work with Mac-formatted drives on a regular basis and you want the operating system integration, speed, and write access, Paragon HFS+ is a great choice and will be worth it for you. But, if you just need to get some files off a Mac-formatted drive occasionally, this is overkill and you can save $20 by sticking with HFSExplorer.
Method 2: Using PowerISO
Another disk image utility that you can use is PowerISO. It can be used for burning both ISO files and DMG files to USB to create a bootable drive. Follow the steps below to Create a Bootable Mac OS USB on Windows PC.
Step 1: Firstly Download PowerISO and install it in your Windows PC. Launch the app and insert a USB drive into your computer.

Step 2: Import the DMG / ISO file directly by clicking on ‘Burn’ in the toolbar.
Step 3: In the Burn window, select the DMG / ISO file from the Source File section.
Step 4: You can modify the settings to adjust burn speed. The default will be set to the maximum, so you can reduce that.
Step 5: You can choose to finalize the disk and verify it. Any errors in the bootable USB will show up at that point.
Step 6: Now click on “Burn” and wait for the progress bar to reach 100%.
After the successful creation of Bootable Mac OS USB, boot your Macbook from this USB drive by clicking the option button during bootup and select this USB drive.
Watch this Video Tutorial
That’s it for the tutorial If you face any issues or had any query then please let us know in the comment section below. You can also send us an email via the contact us page for personalized support.
Comments are closed.
|
AuthorWrite something about yourself. No need to be fancy, just an overview. ArchivesCategories |
 RSS Feed
